I always thought my friend Steven was lying when he told me that over the course of a few years he sold enough of his handmade old timey-looking leather fly swatters at the Indiana State Fair to pay for his log cabin and farm, until I myself moved to the country. Turns out he is a way smarter man than I because when you live on a farm, at some point during the summer, and especially if you have animals, flies are going to invade the house. It is inevitable and it is just a part of country life.
Like any man, I am always looking for the best tool for the job, and at day’s end I usually come back to the one I started with, because only after trying them all do I realize I had the right one to begin with. This is how I have come to understand that the fly swatter is an important time-honored, tried and true tool. One of those that works as well today as it did hundreds of years ago and is so simple even children like to use it.
So a couple of months back, when my KitchenAid stand mixer went down for the count it was like breaking a fly swatter, as far as I was concerned. But lo and behold, I was in the throes of Paul Bertolli’s Cooking by Hand, which I took as a sign. I just had to wonder what would happen if I didn’t run out and replace it immediately, but instead went without and cooked like I did when I first started.
You see, a KitchenAid is like having a bottle of bourbon hidden in the cupboard. I mean really, as long as the bourbon is there you aren’t going to stop drinking, just like if you have a KitchenAid you won’t not use it. But is a mixer better, was my question, than, say, your tried and true, time-honored hands?
A decision was made: I had the shakes, I would go cold turkey and I would cook by hand. Do it the old way. The “on the fly” theory, I would call it. Now don’t get me wrong — I am no blast from the past wannabe. I like my technology, my cell phones, computers, my gas stove and car — although the car is black. Nevertheless, I am not about to grow a beard sans mustache and ask you to call me Graber. (Full disclosure: I will, on the other hand, sometimes wear overalls because I am the anti-ass. Yes, when you are the anti-ass, overalls and outdoor labor make sense because when you have no butt you can never pull a belt tight enough to keep your pants from ending up around your ankles when working, and while I know overalls are not the best look — although I think they are making a comeback on Etsy right next to the Hobo Wedding — they are practical.)
So, as I was saying, I had always heard rumor that making doughs, breads and pastas by hand made them more tender, gave them a better rise in the oven or a more satiny feel in the mouth. I just needed to know.
I dove in head first and started out with a couple of yeast breads. One was a very dense whole grain bread and the other was my whole wheat farmhouse loaf. What I noticed right off was the difference in feel. The whole grain at the end of kneading felt like the wet green block of floral foam that you stick flowers into. You know how when it gets damp and you push on it, it gives a little but seems crunchy and sandy on your hand? The farmhouse loaf is somewhat of a sticky dough and what happened there, how I have come to know the right hydration, is you get barnacle hands. Sounds funny, but these little pieces of dough should sparsely spot your hands and, well, look like tiny barnacles. The wetter the dough, the more barnacles.
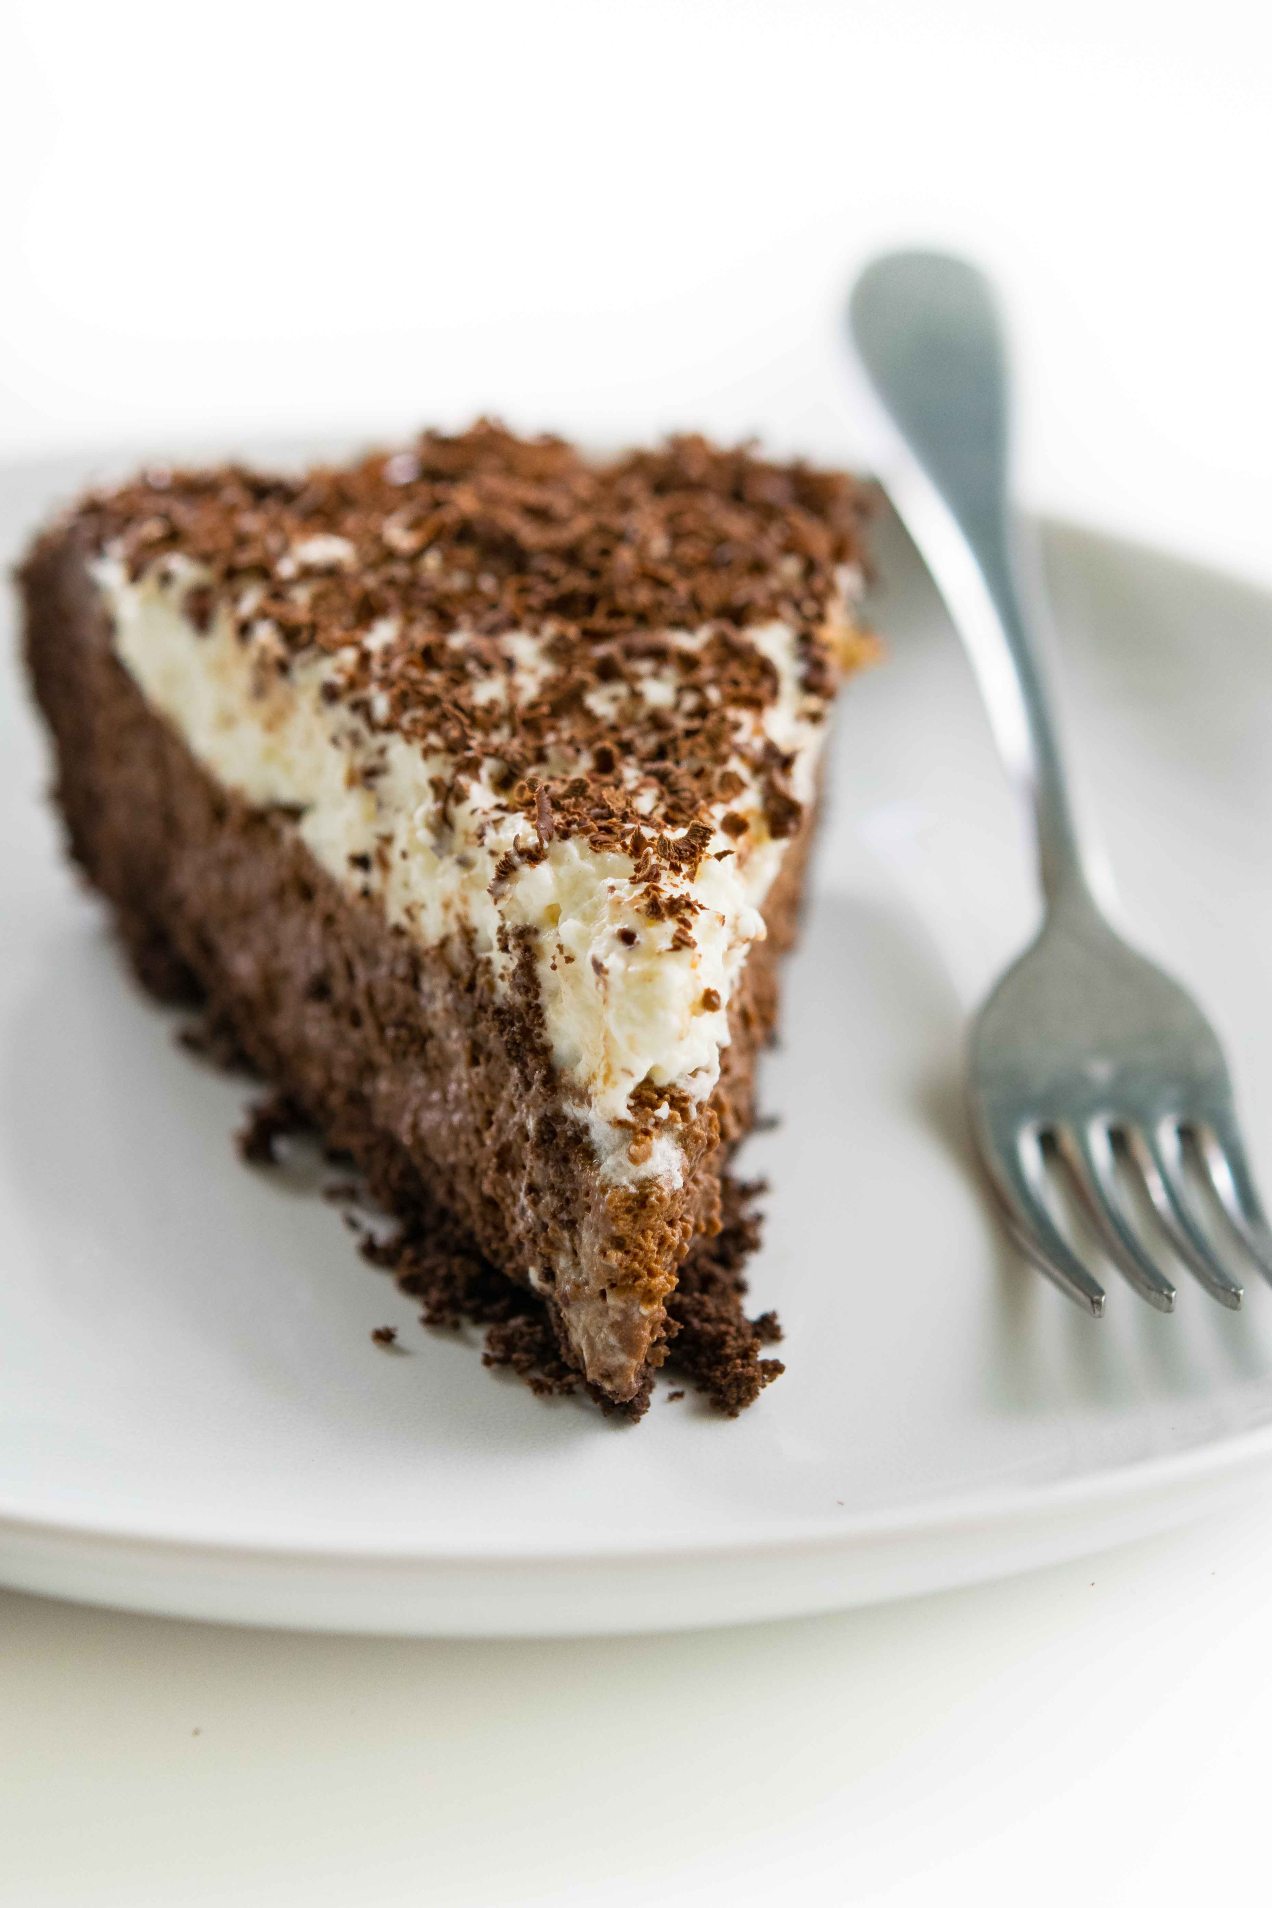
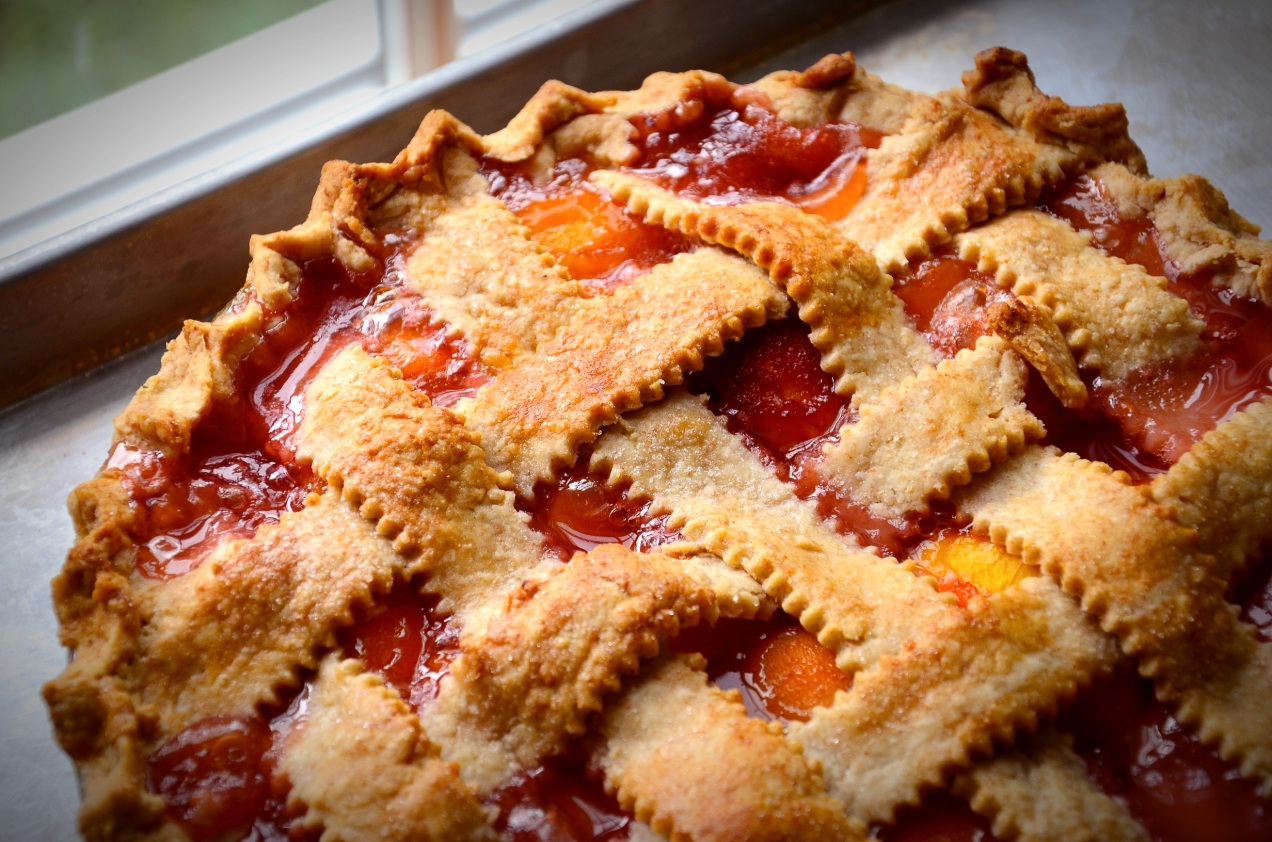
I quickly moved on to crusts and the resulting pies have been great. They are more tender, have a better crumb and they aren’t any more difficult to make, although you do need practice to get the feel of it.
The biggest benefit to cooking by hand though is the girls and I aren’t standing there looking at a paddle attachment go round and round, but instead we are getting our hands dirty and learning about different flours and dough. The elasticity, the hydration and all the other technical stuff which, once you know how a dough should feel, allows you to become more confident and more efficient in the kitchen and build an intimacy with your doughs that allows you to make adjustments by intuition.
While I have procured another stand mixer and will use it (probably not for crusts), the one thing I learned that was probably most important and something you will want to remember and just might be the best kitchen tip I can give is: people keep their best liquor hidden in the cupboard and sometimes, maybe that’s where the KitchenAid belongs too.
This slideshow requires JavaScript.
Tips for Making a Pie Crust by Hand
1. Never add all the water to the dough that a recipe calls for. Always stop short and, as you work the dough, you will know pretty quickly if it needs more.
2. Use a bowl that is three times bigger than you think you need to keep the flour from shooting over the sides.
3. Don’t over-knead the dough. There should be a quarter cup or so of crumbles that fall onto and around the crust when you dump it out of the bowl onto the counter. Knead the dough a little more to incorporate them and stop. It doesn’t have to be one homogenous and smooth mass. While the dough rests it will continue to hydrate and when you roll it out the rolling pin will bring it together.
4. Rotating the dough 45 degrees between each use of the rolling pin is key to ending up with a round crust.
5. Always place your rolling pin in the middle of the dough round and roll away from yourself, then put it back in the middle and roll/pull the pin towards you.
For the crust:
1 1/2 cup whole wheat flour
1 1/2 cup all purpose flour
1 teaspoon kosher salt
1/2 cup lard
1/2 cup unsalted butter, cubed and chilled
1/2 cup ice cold water
1. Sift the flour into a bowl and add the salt. Place the butter and lard into the bowl. Start by squeezing the flour into the butter and lard and then as things start to blend pick up clumps of flour between your hands and rub your hands together like you are trying to warm them up. Do this until the flour looks like course cornmeal. It is ok if there are some larger pieces of butter still in the mix.
2. Add the water and using your hands knead the dough right in the bowl until it comes together. Remove the dough from the bowl to a counter top and knead it two or three times. Divide the dough in half, pat it into two rounds then wrap in plastic wrap and put it in the fridge 30 minutes or more. If you let it sit in the fridge for two hours or more make sure you pull it out and let it warm up a little before trying to roll it.
3. To roll the crust first dust your counter top with some flour. I then dip one of the dough pieces into the flour bin itself and give it a shake. Place the dough on the counter top and starting in the middle of the dough roll with your rolling pin away from you then put the pin back in the middle and roll, backwards, towards yourself. Now turn the dough 45 degrees so it is oblong and horizontal. Roll with your pin, again, starting in the middle. Continue this process until the crust is 10 to 12 inches in diameter and about an 1/8 to 1/4 inch thick. Using the rolling pin for support roll the dough lightly around the pin, like a carpet, and place it into a 9 inch pie pan. Roll out the remaining piece of dough.
For the Filling and to Finish
6 to 8 peaches depending on their size, firm but ripe, look for free stone peaches, meaning the pit comes out easy. I used Indiana red havens which are semi-free and if they are
1/2 cup sugar
2 tablespoons cornstarch
juice of half a lemon
1/4 teaspoon ground cinnamon
1/4 teaspoon ground nutmeg
1 egg white mixed with 2 teaspoons of water
sugar for dusting
1. Heat the oven to 400˚ Fahrenheit.
2. Bring a large pot of water to a boil and blanch the peaches for 10 to 20 seconds. Remove them to a bowl. Leave the water on because as you are peeling the peaches you may find a peach that needs to be blanched a little longer. Slip the peaches from their skins, halve them, pit them and then slice each half into 3 pieces.
3. Place the peaches into a large bowl. Mix the sugar with the cornstarch. This will help to prevent the cornstarch from clumping. Combine the peaches with the sugar/cornstarch mix, cinnamon, lemon juice and nutmeg. Using your hands gently turn the peaches to distribute the sugar and spices. Remove the peaches and put them into the crust lined pie pan. Pour the juice over the top until it comes 3/4 of the way to the top. You may have more juice than you need. If you have less, don’t worry — it is fine.
4. Roll out the top crust and either cut it into strips for a lattice top or use it whole. Either way brush the edge of the bottom crust with egg white to help attach the top crust. Trim the excess crust. Crimp the crust. Brush the top crust with egg wash and dust with sugar. Place the pie on a sheet tray with edges just in case it bubbles over and because it will be much easier to get in and out of the oven.
5. Bake the pie for 20 minutes at 400 ˚F then turn the heat to 350˚ F and bake another 40 to 50 minutes or until the juices are bubbling and the crust browned. Remove and let cool. Slice and serve cold or warm, with cream or ice cream or just skip and go naked.