I like this bread because it uses leftovers. What do I mean by leftovers? My girls don’t like heels and crusts. Sure I could force them to eat them, could throw them out or I could trim them off and save them for other uses. I could make bread crumbs or, for instance, I could make this loaf of bread.
It is pretty amazing when you think about it. Bread never wears out, you can use the same crumbs again and again in this loaf and its structure is always the same.
As long as you dry it properly, use breads without seeds, fruit or nuts, the uses of bread become endless but I really like the fact that I am not wasting anything.
It takes time to learn how to make a good loaf of bread. The good news is if it doesn’t work out perfectly the loaf is more then likely still really delicious and good to eat. So jump in and start practicing.
Recipe based on a recipe by Peter Reinhart in his book Brother Juniper’s Bread.
- King Arthur Bread Flour $3.98 for a 5 pound bag = 28 cents per cup
- 1 packet instant dry yeast = 24 cents
- total cost to make this loaf of bread = $1.00
Makes one 2 pound loaf
2 cups dried stale old bread crumbs
2 cups water
1 .25 oz. packet instant dry yeast or 1 tablespoon
1 tablespoon kosher salt
2 1/2 cups bread flour
1. In a large mixing bowl combine the bread crumbs with to cups of water. Let the bread soak up all the water. This will take about an hour and you can let it soak for 4 hours. Make the bread fit your schedule.
2. Sprinkle the yeast over the top and then stir it around and into the damp bread crumbs. Let is sit for 2 to 5 minutes to hydrate the yeast. Add the salt and bread flour.
3. Using a heavy duty wooden spoon mix the flour and crumbs until it forms a ball. Dump the ball onto the counter and start kneading. Knead the dough until it becomes smooth and elastic. This will take at least 5 minutes.
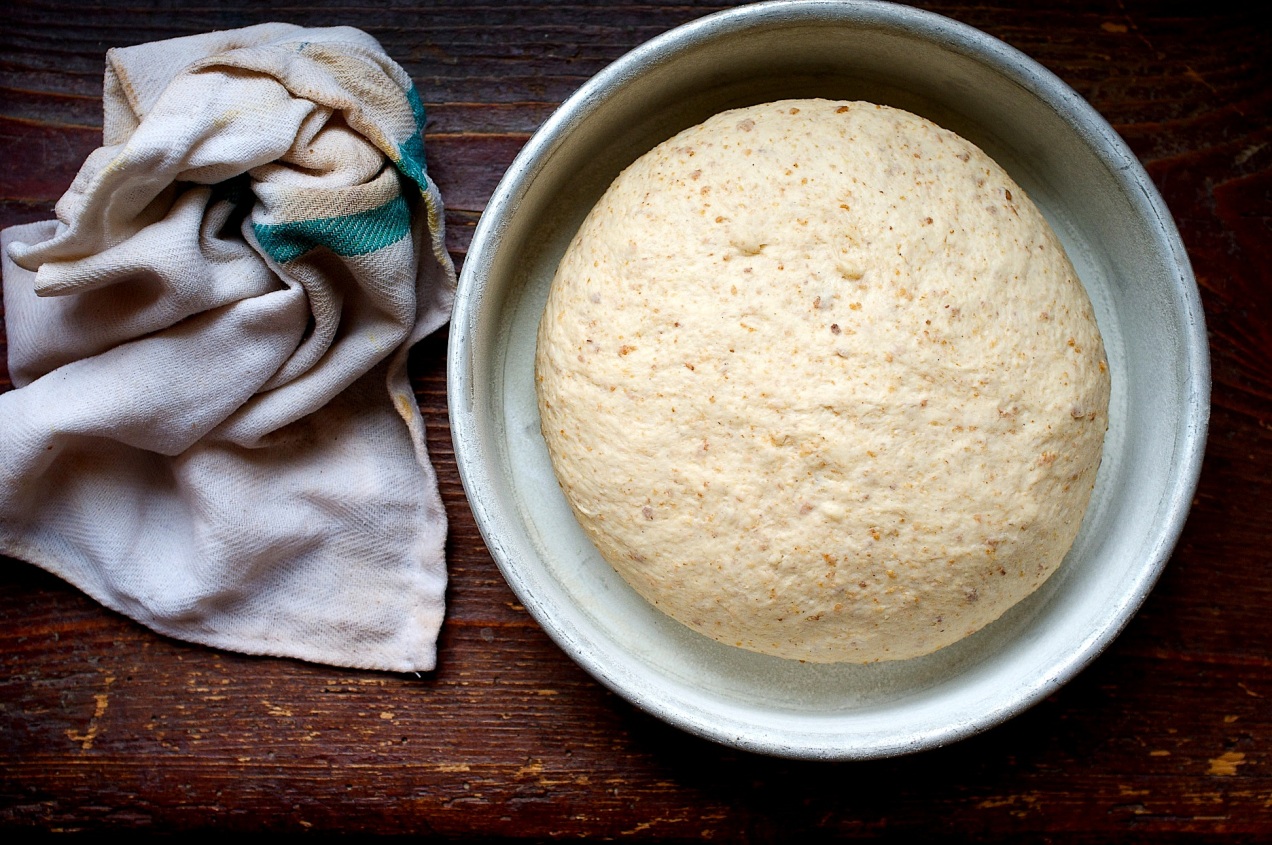
4. Form the dough into a ball and put it back into the mixing bowl. Cover it with a damp towel and set the bowl in a warm draft free place. The back of the stove is usually good.
5. Set a timer for 1 hour. At the end of the hour the dough should have doubled in size. If not let it proof a little longer. Remove the dough to the counter and knead it to degas it then shape it into a ball.
6. Place the dough into a 8 inch cake pan that has been oiled and dusted with flour. To dust the pan smear a small amount of oil onto all interior surfaces of the pan. Add a tablespoon of flour and shake it around and tilt the pan to get the flour up the sides. This will keep the bread from sticking to the pan. Cover the bread and put it back in the warm place you had it.
7. Let the bread rise until it is peaking over the top of the pan by an inch. This will take 30 to 40 minutes. About 15 minutes into the final rise turn on the oven to 375˚ F.
8. You can dust the top of the loaf with flour, cut a slash in it or just put it in the oven and bake it for 50 minutes. Remove it from the oven then remove it from the pan to a cookie rack. Let the bread cool completely. Slice and serve.