©Tom Hirschfeld 2016 all rights reserved
Just about anything can be cooked in a pressure cooker. It does lots of things well. Stews, roasts, soups and one pots all come to the table hot and delicious. Even so, what really keeps the pressure cooker on the stove top is the basics. A pressure cooker cooks beans, grains, rice, and stocks effortlessly and it cooks them perfect every time. A pressure cooker is a natural in the kitchen. Not only that, as everybody knows, the pressure cooker saves time and when it comes to cooking beans it saves lots of time.
Bean Myths
We live in a world of bean myths. A world where bits of anecdotal information is passed from one generation of cooks to another. Dried beans carry suitcases full of informational baggage around with each and every pound. But what is truth and what is fiction and how should it all be sorted out?
Dried beans
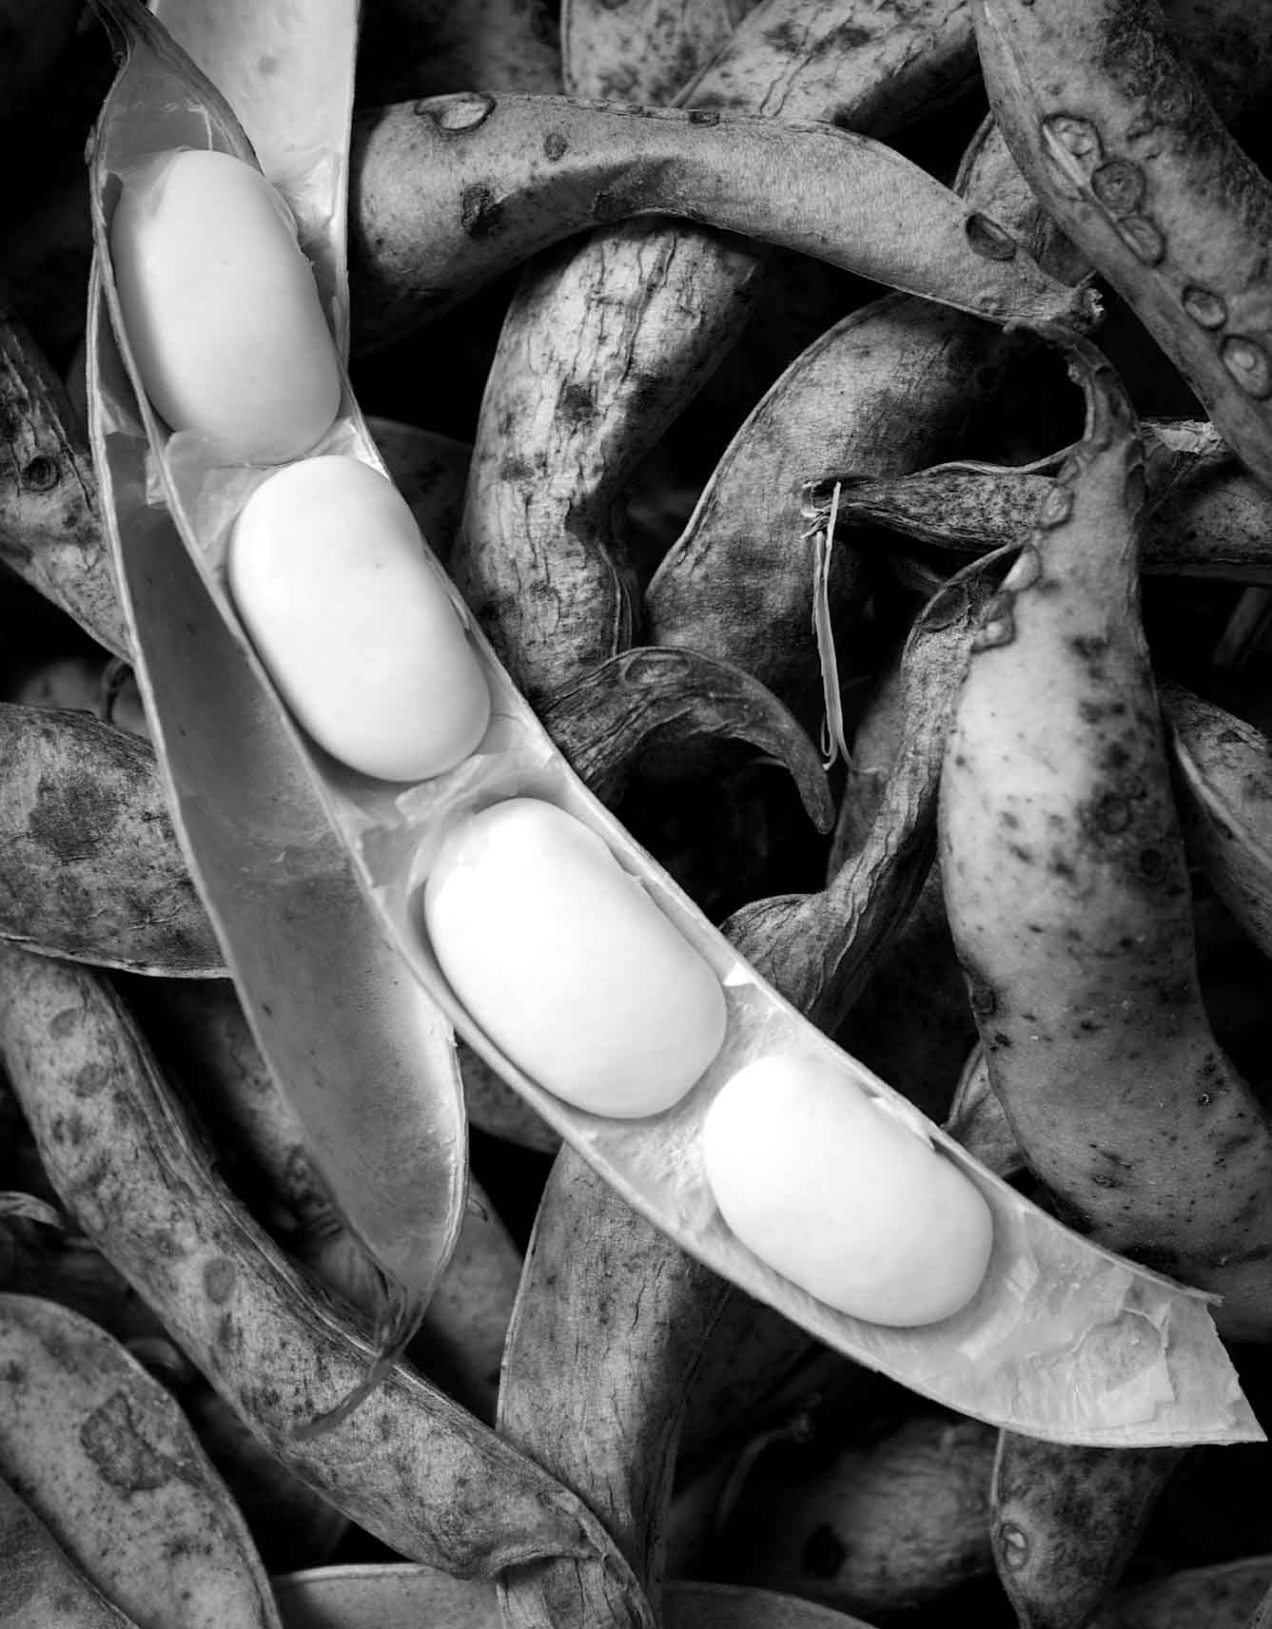
There are a lot of choices when it comes to the kinds of beans you choose to cook. There are all the traditional beans -‑ black, pinto, garbanzo, navy, and kidney but there are also limitless kinds of heirloom beans with fancy names like Tiger Eye, Eye of the Goat, and Snowcap. There are even more.
When combined with a grain, more often then not rice, beans make a complete protein. This makes beans one of the least expensive healthy foods to put onto the stove. Combine them with a few spices and herbs and it becomes a flavorful dish the whole family will love.
To buy the best beans frequent a grocery that has a high turnover of dried beans. The newer the bean the better it cooks. Beans that have been around for a long time might not ever soften no matter how long you cook them. It pays to pay a little extra for good quality beans.
There are other legumes too. Split peas, lentils, and field peas cook up just as wonderfully in a pressure cooker as any of their cousins mentioned above. These legumes don’t need any kind of soak either, they can go right into the pot and cook in no time at all.
To Soak or Not to Soak?
This is a personal question. It is up to the cook whether or not to soak the beans overnight. In pressure cooker you do not need to soak the beans but there may be reasons why you want to.
One reason would be how are the beans going to be used. If they are to be pureed soaking isn’t necessary but if they are to be left whole a pressure cooker often splits beans leaving them cracked. If this is important then soak the beans.
Under pressure dried beans are cooked in minutes. Not something that can happen when they are cooked traditionally. The question becomes one of digestibility. If the beans are soaked a good deal of the gas causing chemical, phytic acid, is leached out into the soaking water which is discarded and fresh water is then added for cooking. If gastrointestinal issues are a factor presoaking is mandatory.
So while you can eliminate the soaking water when pressure cooking here is another reason it might not be a good idea. Almost any presoaked bean cooks in 10 to 14 minutes in a pressure cooker. That is what is amazing. Cooked delicious beans in such a short amount of time!
A Quick Soak
If you should forget to soak you beans you can still get a pot of beans to the table with a quick soak. Simply put the amount of beans you want to cook into the pressure cooker and for every 1 cup of beans add 4 cups of water. Bring the water to a boil and lock on the pressure cooker lid. Bring to pressure and set a timer for 2 minutes. When the timer sound turn off the heat and let the beans sit for 20 minutes or until the pressure has released. Drain the soaking liquid and proceed.
Salt
There is an old wives tale about salt and beans. It says that salting beans extends their cooking time and makes the beans tough. It does not. Salting beans is paramount to great tasting beans. It is best to salt them during the soak time. About 2 teaspoons of salt per 4 cups of water is sufficient.
Foaming
Foaming is always a concern when using a pressure cooker. Foam carries particulate which can lodge and clog the pressure valves. It is best to add a tablespoon of oil or fat to the cooking liquid. This will help to prevent foaming. It is also best to use a natural or cold water release beans for the same reasons.
When To Add Acids
Tomato sauce and vinegars are often added to beans for flavor. The acids in these products can cause the beans to toughen and take longer to cook. It all depends on how much you add. A can of tomato sauce is going to affect the cooking time, a tablespoon probably not. Nevertheless, it is always best to add any of these products toward the end of the cooking time.
Baking Soda
There is no good reason to add baking soda to beans.
A Simple Pot Of Beans
2 cups pinto beans, rinsed and picked over for debris soaked in 8 cups of salted water for 4 hours to overnight
1 small yellow onion, peeled, small dice (about 3/4 cup)
3 garlic cloves, minced (about 1 TB.)
1 tsp. kosher salt
1 bay leaf
[1/2] tsp. fresh ground black pepper
- Drain the beans into a colander and strain. Rinse the beans.
- Place the beans into a 6 quart (5.51l) or larger pressure cooker. Add enough water to cover the beans by about 1-inch (2.5cm) about 5 or 6 cups.
- Add onion, cloves, garlic, salt, bay leaf, and pepper to the pot. Bring the water to a boil over medium high heat (traditional)/high(electric).
- Lock on the lid, bring the pressure to level 2(traditional)/high (electric). Set a timer for 10 to 12 minutes.
- After the time sounds either perform a natural or quick release. Serve or cool and refrigerate beans until needed.