Finally, the long standing blanket of snow has begun to recede and melt back into the dark earth, but not without leaving behind a disheveled landscape — like lifting an area rug you have meant to clean under for the past year. It is ugly outside, and depressing too. It is the worst time of year. The melt-off signals the beginning of the end of winter, but the skeptic in me knows that the weather is more than likely crying wolf. Either way it sets a spark to the natural cycle of things.
A bee flying in the orchard still bare of leaves, lands on my arm, walks around a moment, then looks up at me with sad puppy dog eyes and flies off. A couple of raccoons out during daylight forage the field for last season’s spilt corn. At the wood’s edge an opossum trips on a branch and falls fifty feet before landing with a thud in the remnants of a wet snow bank. I realize it is time to join the others as well — to come out of hibernation, to replenish.
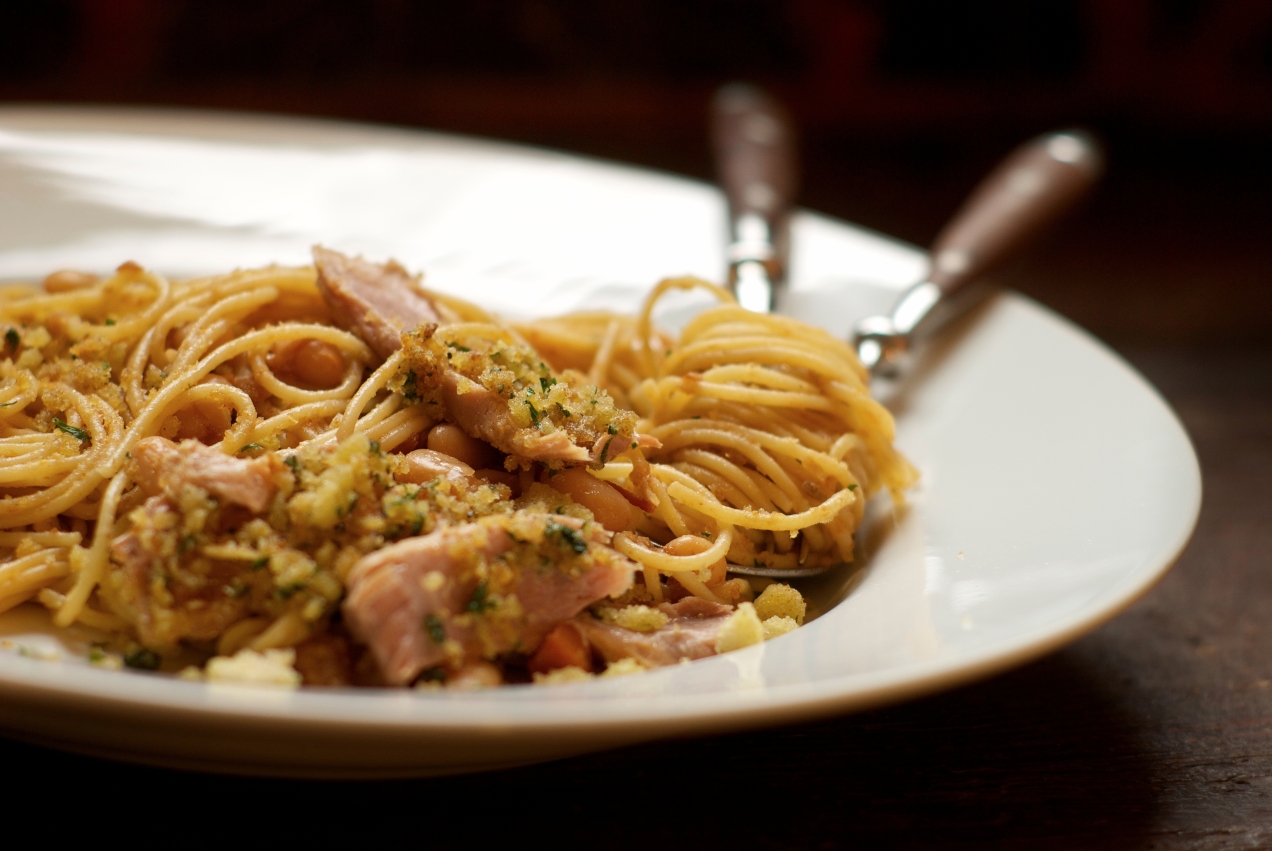
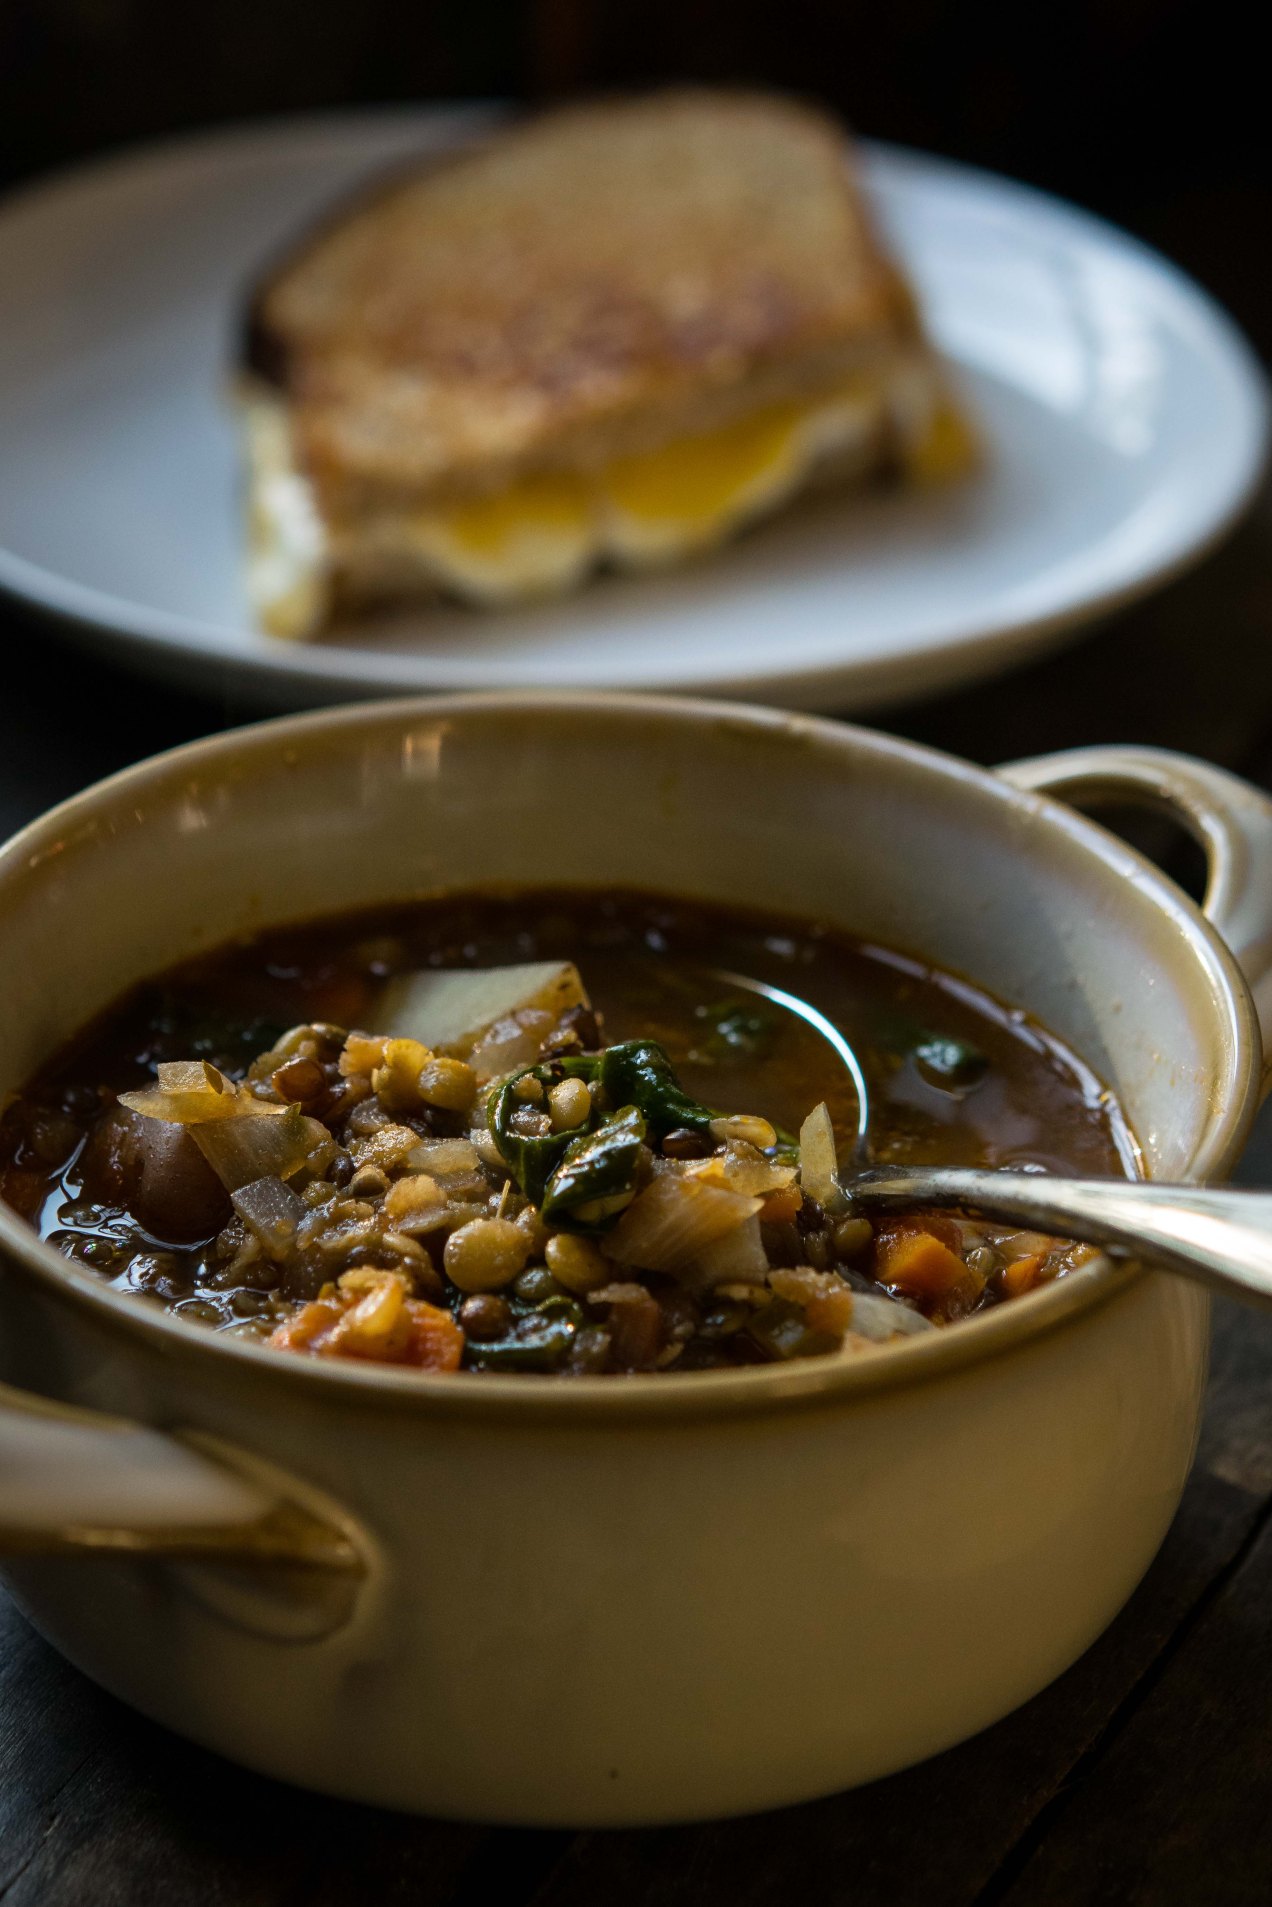
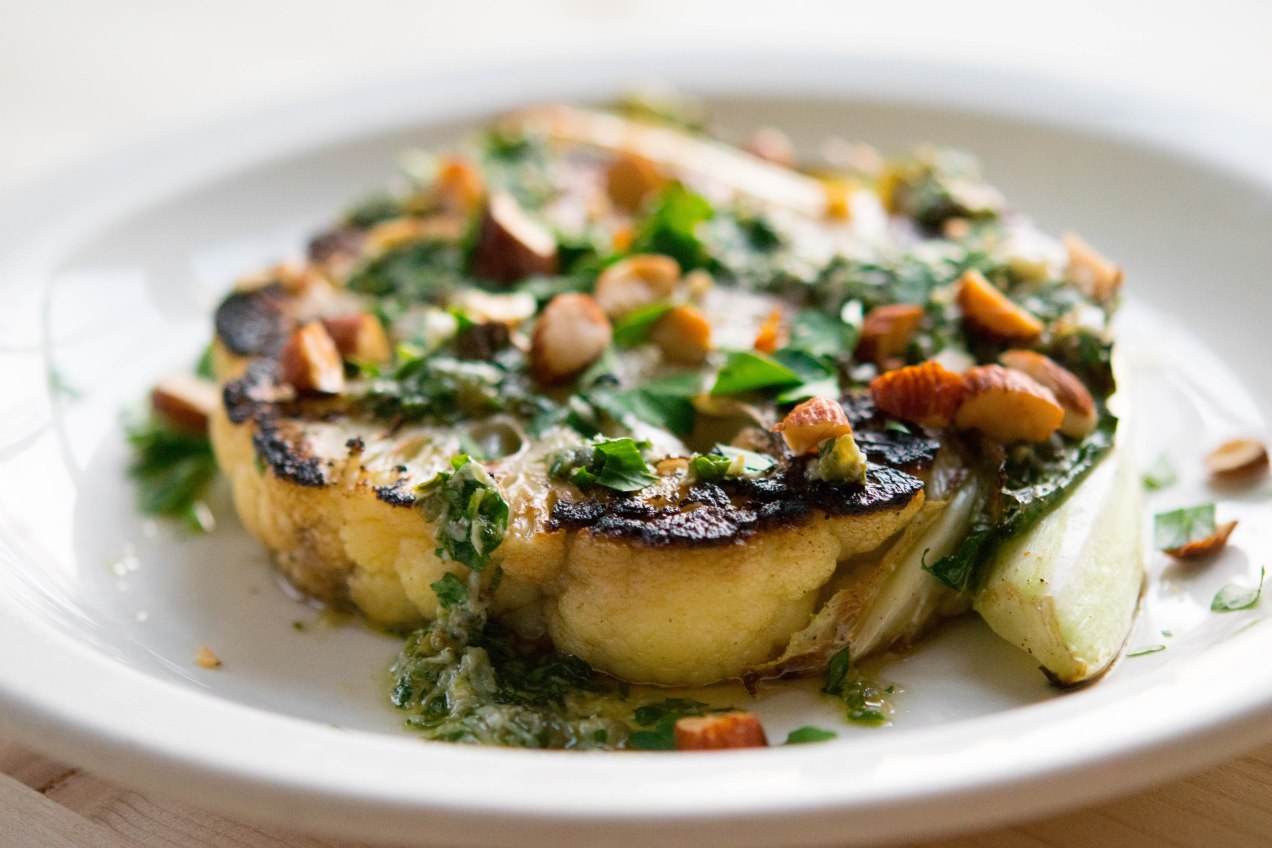
But I have a problem. I am sick of kale. Even my beloved collards put me off. The hell with you turnip and rutabaga, for you’ve left a bitter taste in my mouth. I push bowls of Brussels sprouts away as if I am a child again, and my mother is trying to force feed them to me (she even threatens me with no dessert). I have eaten my greens in all forms, and I can’t stand them anymore. I have hit the winter vegetable wall. With the exception of but a few, the only way vegetables are still palatable is with heavy cream and bits of bacon.
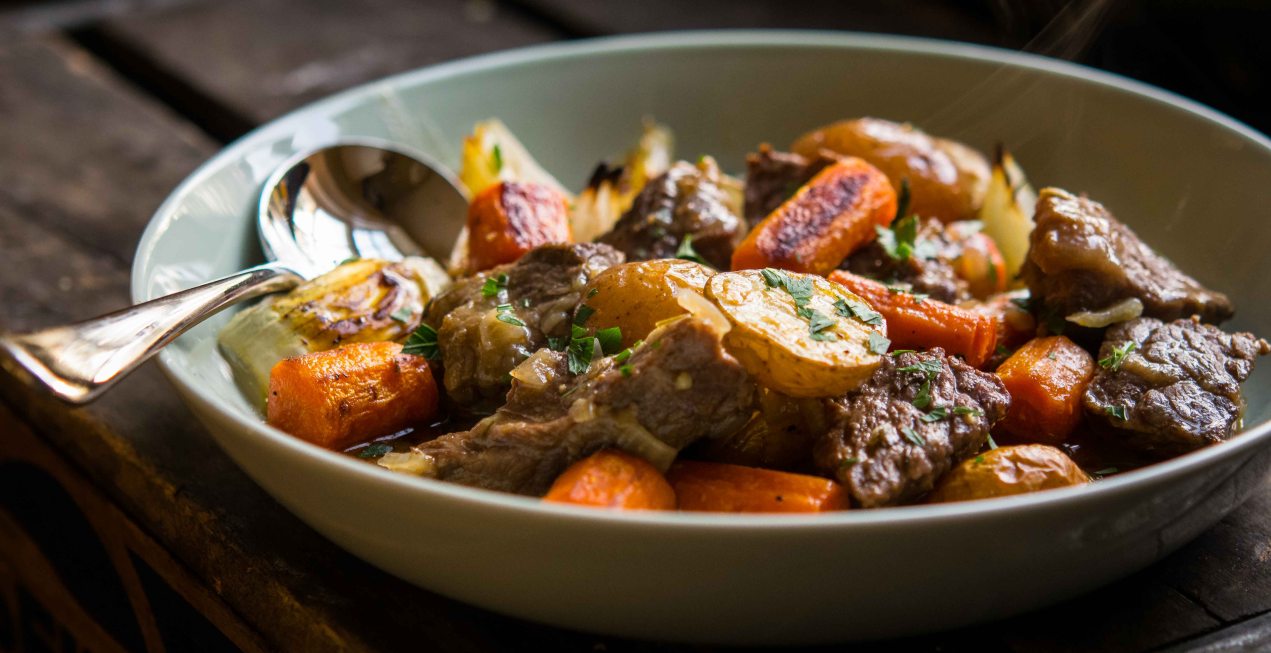
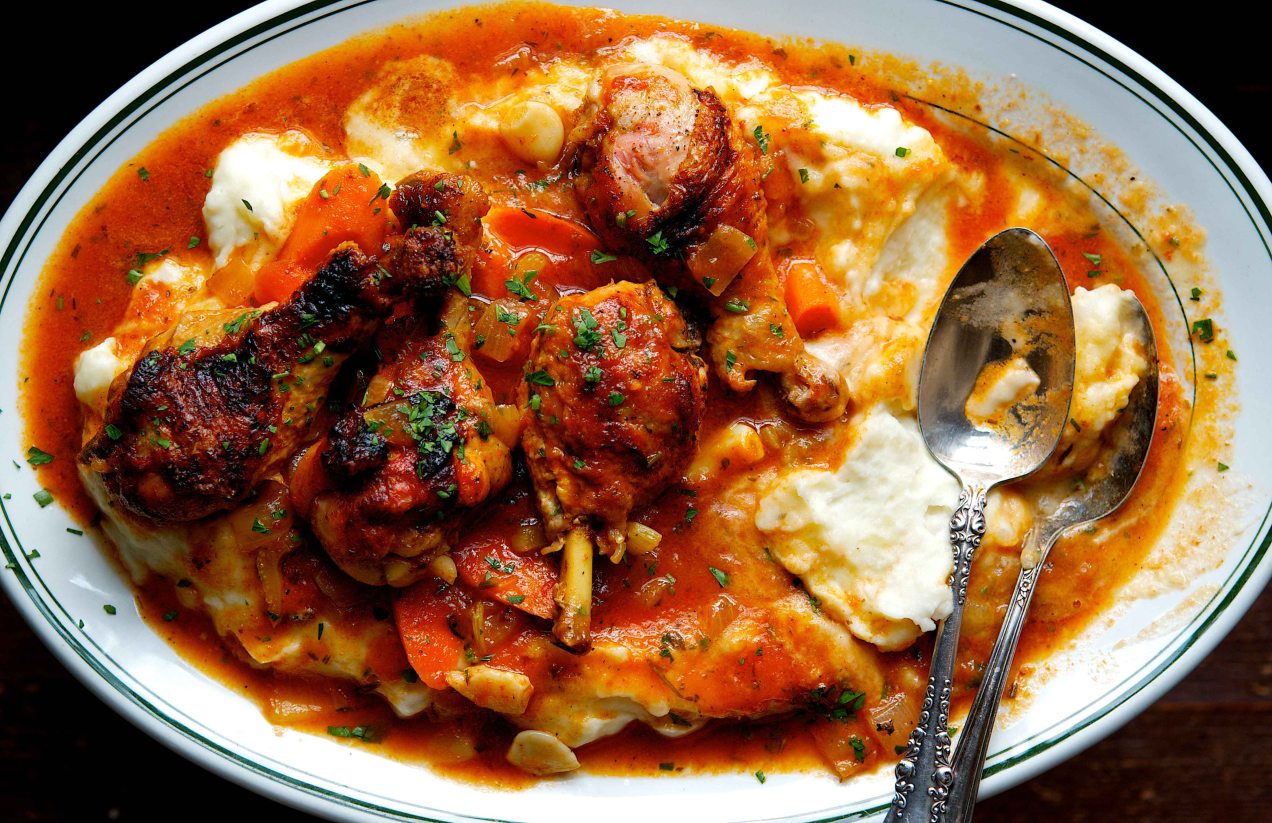
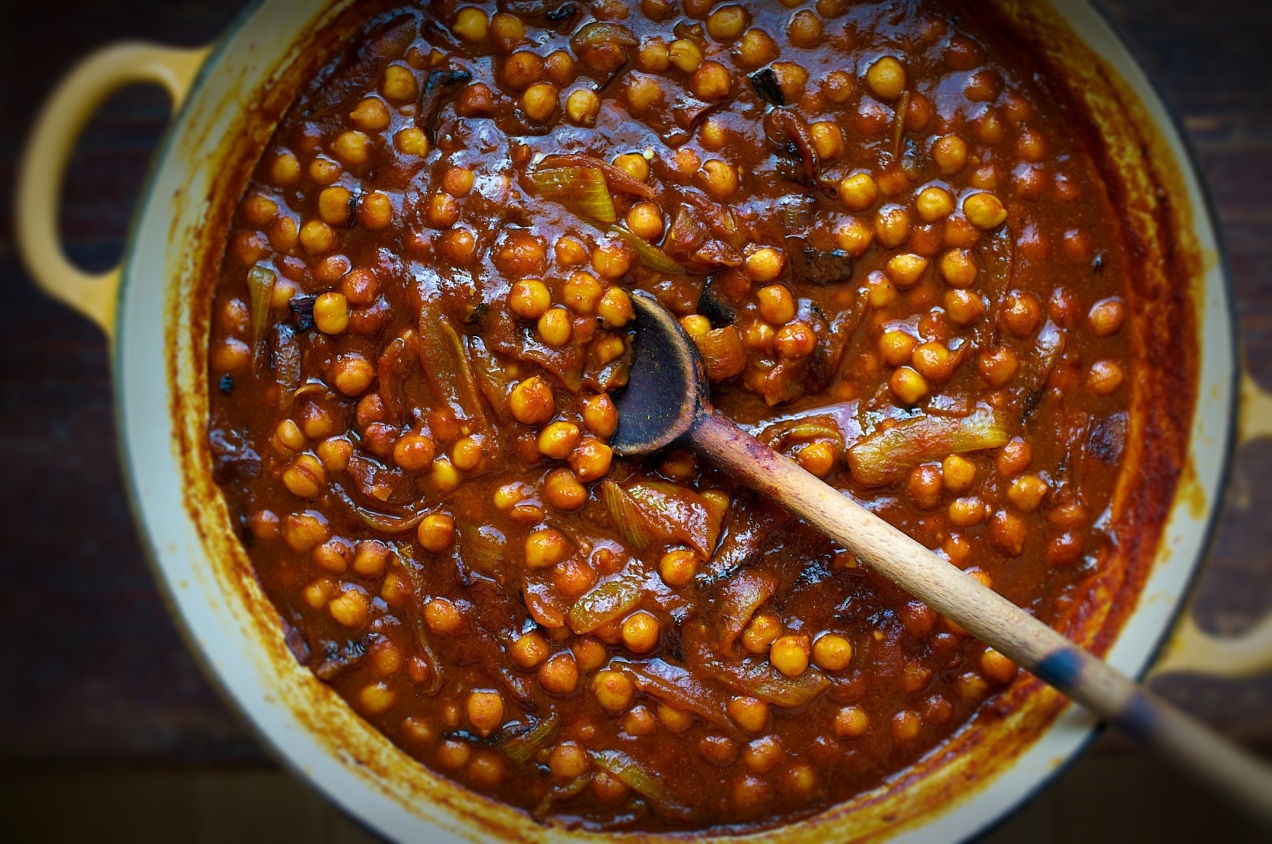
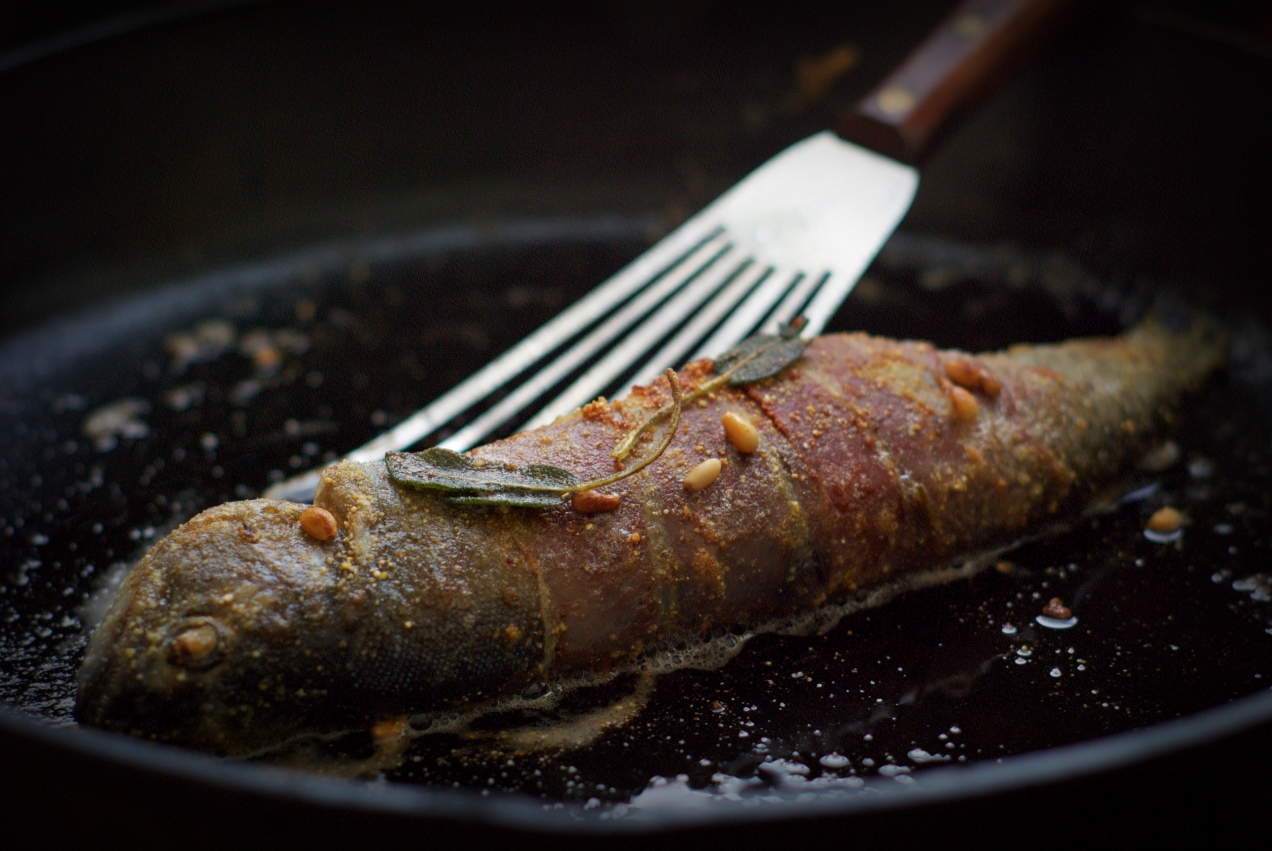
Through it all, somehow potatoes taste good — more then good — amazing. Anything resembling a jar of sunshine helps (like last summer’s canned tomatoes with basil tucked into the red pulp). Going outside helps, too, because the musty smell of thawing earth and the gentle heat of the midday sun gives me hope for what is to come. Luckily, any food on a platter that resembles comfort is still a hit at the table– such as these chicken legs, tenderly covered with a parchment lid and slow cooked in a Dutch oven until they become sticky. A dish that’s good anytime of the year, but especially welcome during the wait until spring.
-
-
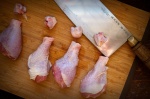
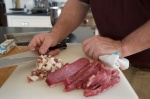
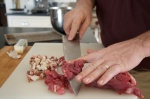
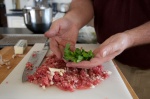
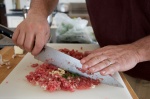
Cut off the chicken leg just at the joint
-

-
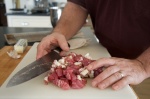
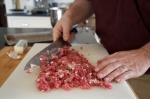
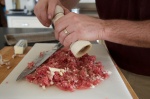
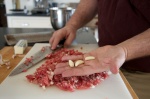
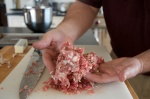
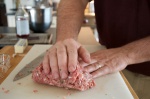
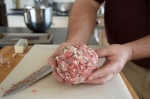
Push down on the skin with both hands to French the chicken leg
-
-
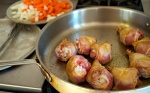
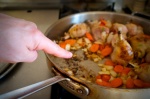
Caramelize for deeper flavor
-
-
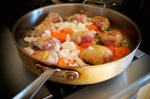
Veggies and chicken should snuggle for a while
-
-
The brown bits is the fond
-
-
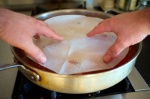
Making a parchment lid is simple
-
-
Parchment lid
-
-
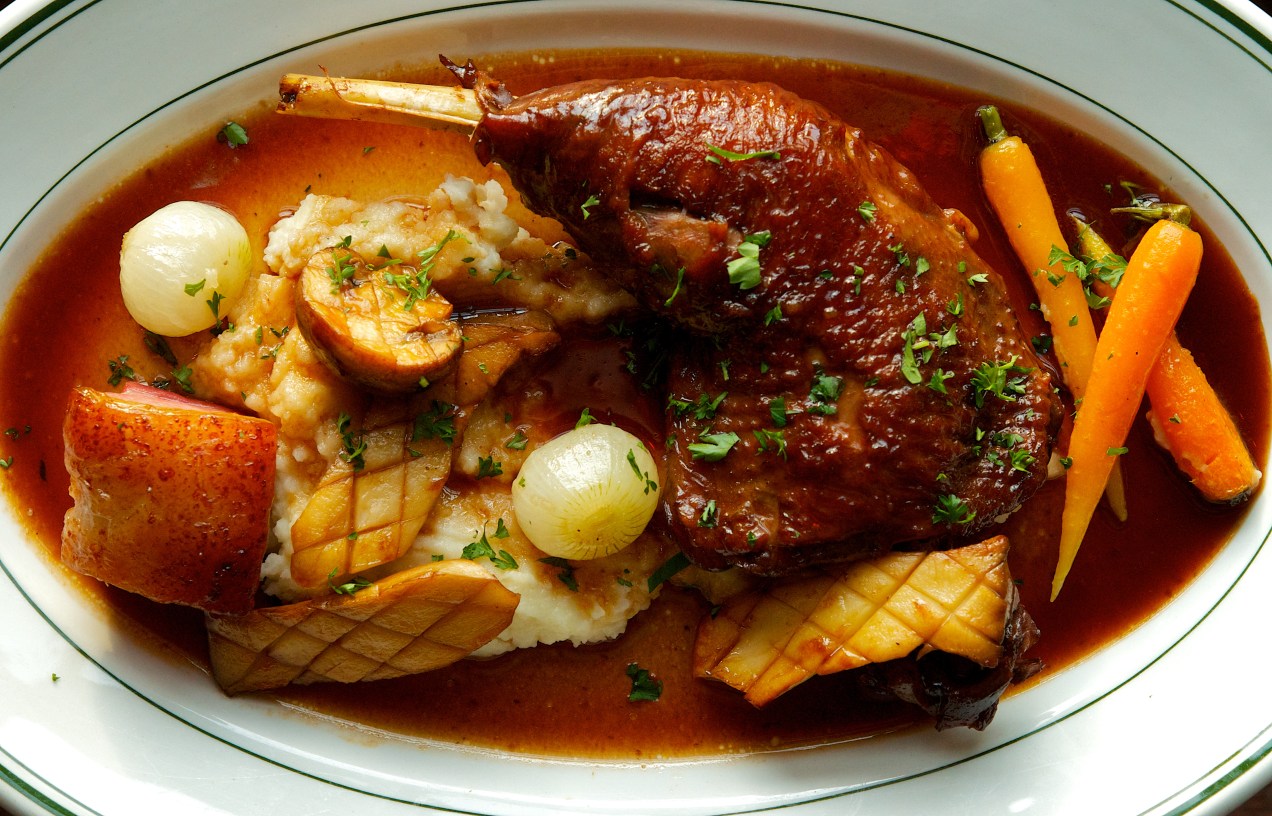
Finished braise
Tips for Better Braising:
1. Always caramelize the protein. Mind you, many times the vegetables are caramelized too, but not always. The deeper the caramelization, the deeper the flavor of the finished dish. Be mindful of the fond (the brown bits stuck to the bottom of the pan) — don’t let them burn. The ideal braise includes a beautiful fond, which occurs when the bottom of the pot is schmeared with brown bits of cooked-on-goodness that releases into the sauce when you add liquid. For good measure, always use a wooden spoon and scrape along the bottom of the pot to make sure that nothing is left behind.
2. If a recipe calls for vegetables, always add more. If a recipe calls for 1-cup of mirepoix, don’t be afraid to add 2 cups. A braise, as far as I know, has never been hurt by too many vegetables.
3. A parchment lid is one of my favorite kitchen cooking methods. I don’t know the exact science behind it other than that it works (and makes your food better). It allows, at least in my mind, the food that sits atop the liquid to brown and caramelize while preventing the liquid from evaporating.
4. Just because meat is cooked in a liquid doesn’t mean it won’t dry out. Have you ever eaten a piece of pot roast that is so hard to swallow that it gives you the hiccups? It is most likely because the roast was too lean or overcooked. Be mindful of cooking times and fat content.
5. If a braise only calls for a mirepoix to be used in the broth, at the end of the cooking time I will oftentimes remove the meat, degrease the braising liquid, and purée the vegetables to make the sauce creamy without having to add even a touch cream.
Serves 4 or more
For the chicken legs:
olive oil
8 to 10 chicken legs, skin-on
1 cup celery, diced
1 1/2 cup yellow onion, diced
1 1/2 cup carrots, thinly sliced on a bias
12 to 18 garlic cloves, chopped
1 cup dry white wine
2 cups tomato purée
1 cup vegetable broth or water
2 bay leaves
1 1/2 tablespoon rosemary, minced
1 1/2 tablespoon flat leaf parsley, minced
Kosher salt and fresh ground pepper
1. Season the chicken on all sides with salt and pepper. Heat the oven to 375˚ F.
2. Place a large sauté over medium high heat. Add enough olive oil to the pan so that the bottom is just coated. Add the chicken legs and brown them generously on all sides. Adjust the heat as necessary. Add the carrots, celery, and onions to the pan. Season them with salt and pepper. Let the vegetables brown.
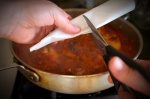
3. Once the veggies brown add the garlic and rosemary. Stir the veggies around and once the garlic is fragrant nestle the chicken legs comfortably with the veggies. You want you veggies and chicken spooning. Add the white wine and let it reduce to almost nothing. While the wine is reducing use a wooden spoon to scrape up all the good bits stuck to the bottom of the pan. Add tomato and vegetable broth. Bring the liquid to a boil, cover with a parchment lid, then slide it into the heated oven for 45 minutes to 1 hour.
For the mashed potatoes:
6 to 8 russet potatoes, depending on their size, peeled and cut into 1 inch rounds
6 tablespoons unsalted butter
1/3 cup whole milk, possibly more
kosher salt and fresh ground white pepper
1. While the chicken is in the oven make the mashed potatoes. Place the sliced peeled potatoes into a large pot and add enough cold water to cover them by 4 inches. Add a tablespoon of kosher salt. Place the pot over high heat and bring it to a boil. Once it is boiling reduce the heat to keep the pot from boiling over. After about 15 minutes check the potatoes to see if they are done by inserting a kitchen knife into the middle of one of the larger pieces of potato. If the larger ones are done you are assured the smaller ones will be too. The knife should easily pierce the potato.
2. Drain the potatoes into a colander. Let them steam for a few minutes to rid themselves of excess moisture. Then using a ricer, a mixer or a stand mixer with a paddle attachment either rice, or mix the potatoes till broken down. Add the butter and mix some more. Season the potatoes with a touch of salt and fresh ground white pepper. Add the 1/3 cup of milk. Mix and then taste for seasoning. Adjust the seasoning as necessary and add more milk if the potatoes are too stiff. Be careful as to how liquidy you make the potatoes. Error on the stiff side because the tomato gravy will loosen them up a lot as they co-mingle on the platter.
3. Plate the potatoes onto a large platter. Top the potatoes with the chicken legs then the carrots, onions and celery. Ladle the tomato gravy over all and sprinkle on the parsley. Serve.


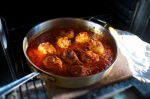
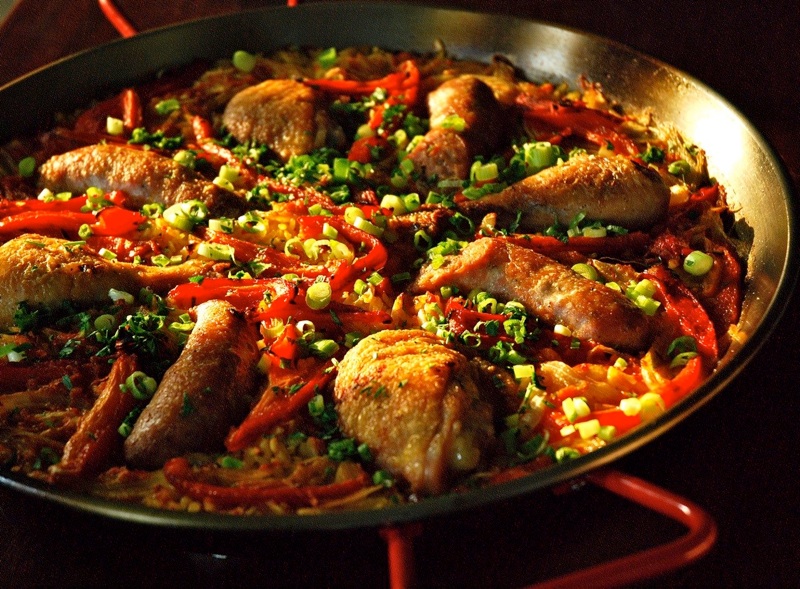 Paella to me is the ultimate one pot meal. It also is the time of year where I am not ready for a stew but want something more substantial than the usual summer fare. Paella is a great answer. Although paella is considered Spanish I think this one is more Mediterranean. I use Italian sausages but fresh chorizo would be good, the important part is that the sausage isn’t dry cured or it would just be drier in this case. I also use arborio rice, but you could use the Spanish version of this as well.